How I make my reusable Face Masks- Crafty Goose

What are the masks for?
• To prevent your spit and breathe from getting on things other people may come in contact with.
• Great for outdoor chores like mowing the lawn!
• Spring cleaning leaves lots of dust! Wear one to sneeze a little less (especially if you are highly sensitive to dust like I am!)

• While spray painting or other toxic fume crafts that need to be done in a ventilated area.

• While riding a motorcycle or other open vehicles. (The number of bugs I swallowed as a kid while four-wheeler riding LOL)

•Changing diapers. Okay, this one is a joke… But not a bad idea LOL

Supplies:

  • Fabric (This uses 2 fat quarters)

  • Sewing machine

  • Thread for machine

  • Pins / clips

  • Rotary cutter with mat

  • Iron / ironing board

I make a lot of projects fat quarters friendly because they are cheap ($1-$2 each) and can be found at lots of places..

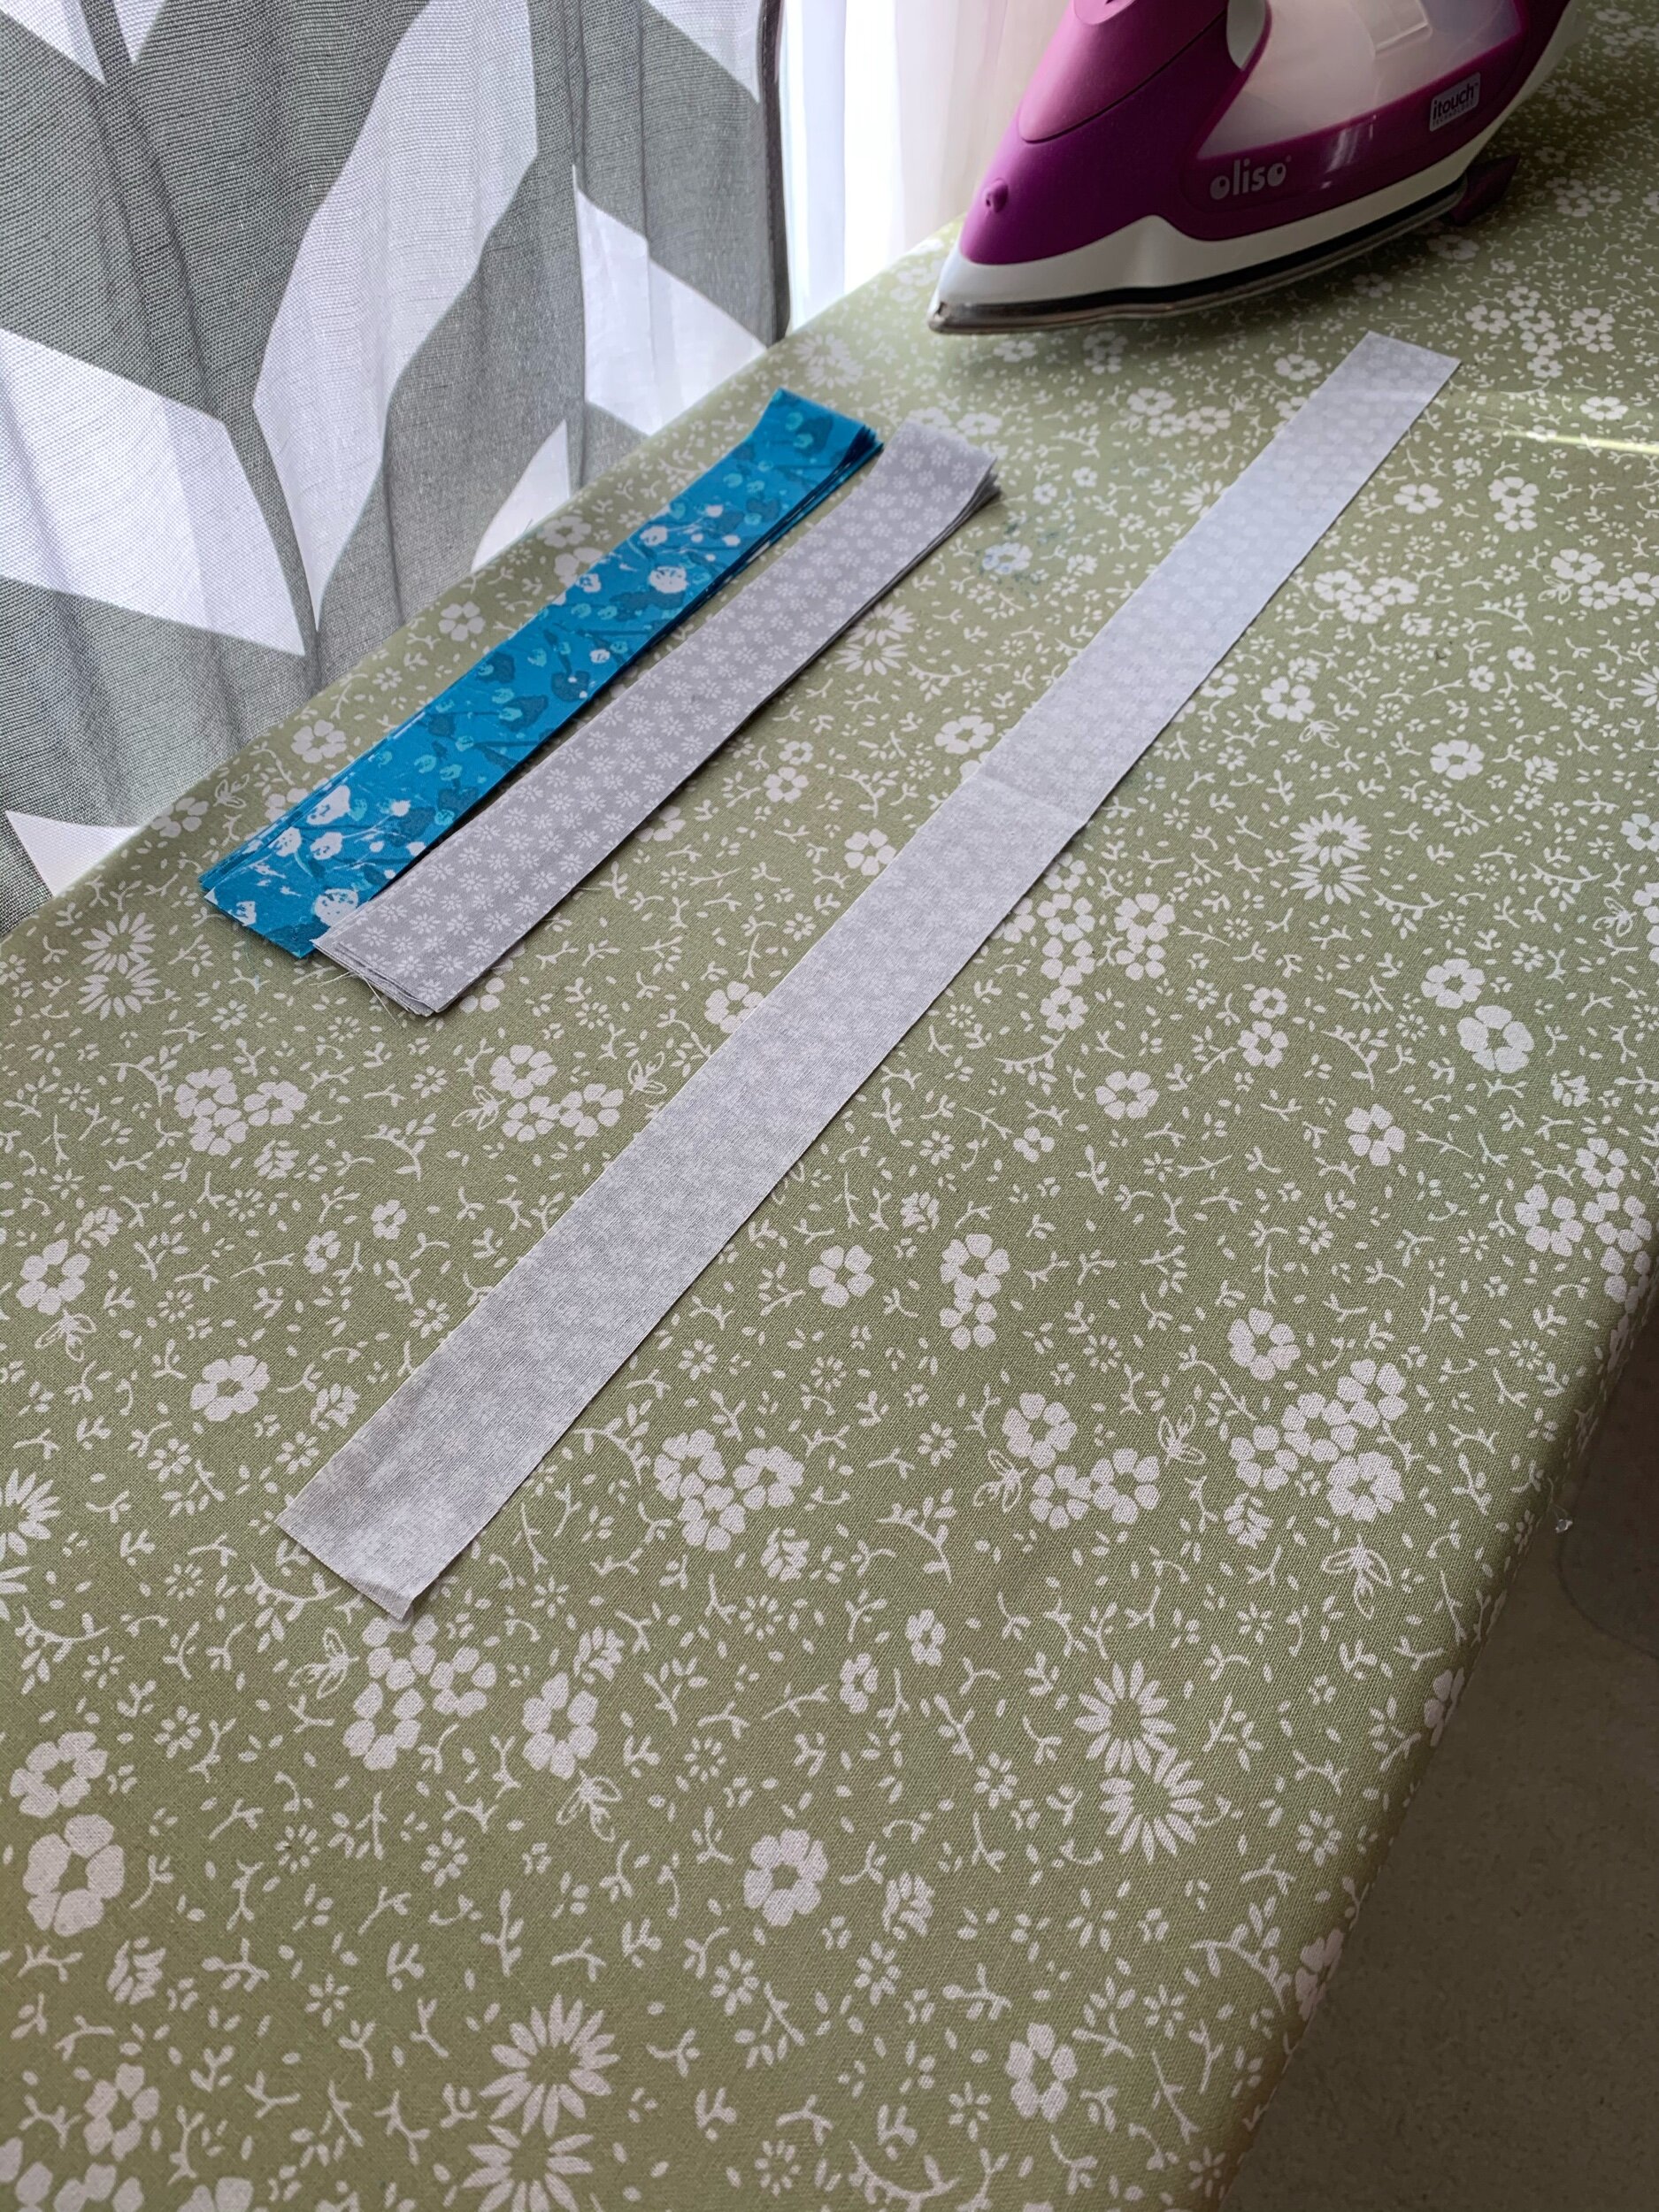
First! We Iron all fabric!

Either the steam setting on your iron OR a spray bottle of water with your iron on dry heat will get your creases out.

Either the steam setting on your iron OR a spray bottle of water with your iron on dry heat will get your creases out.

Then we Cut!

First find which side measures 18 inches and which side measures 20-22.  ALL fat quarters will have a side that is 18” (half of a yard, 36”) And another side that carries 20-22.

First find which side measures 18 inches and which side measures 20-22.
ALL fat quarters will have a side that is 18” (half of a yard, 36”) And another side that carries 20-22.

Fold the fabric in half, with the fold on the bottom, and the 18” side running left to right.

Fold the fabric in half, with the fold on the bottom, and the 18” side running left to right.

With the fold lined up on a black line, we are going to trim up the right side.

With the fold lined up on a black line, we are going to trim up the right side.

Cut off the least amount you can while also making a clean edge.

Cut off the least amount you can while also making a clean edge.

Flip your clean edge over to the 18” mark with the fold stil lined a the black line. Trimming mine made it less than 18” so I will be working with 17 1/2 the rest of the project.

Flip your clean edge over to the 18” mark with the fold stil lined a the black line. Trimming mine made it less than 18” so I will be working with 17 1/2 the rest of the project.

This is me cutting of a larger chunk to make it an even -7 1/2 since exactly 18 isn’t going to happen. But if yours has a little extra, trim it to 18”

This is me cutting of a larger chunk to make it an even -7 1/2 since exactly 18 isn’t going to happen. But if yours has a little extra, trim it to 18”

Starting from the right we are going to make a 6” cut and another 6” cut on the 12 mark.

Starting from the right we are going to make a 6” cut and another 6” cut on the 12 mark.

For me this made two 6” strips and one 5.5 inch strip. Hopefully you can get three 6” strips out.

For me this made two 6” strips and one 5.5 inch strip. Hopefully you can get three 6” strips out.

I’m going to take my smallest strip and cut it into four equal strips. Dividing 5.5 by four is not easy, I hope you did better LOL

I’m going to take my smallest strip and cut it into four equal strips. Dividing 5.5 by four is not easy, I hope you did better LOL

Net may one of your 6” strips on its side and trim it to 9 inches by lining the bottom of the fabric on a black line.

Net may one of your 6” strips on its side and trim it to 9 inches by lining the bottom of the fabric on a black line.

I trimmed each side to make it 9”, but if I do these again I’ll cut them at 10 inches to make it a pinch longer across the face.

I trimmed each side to make it 9”, but if I do these again I’ll cut them at 10 inches to make it a pinch longer across the face.

You should have 4 rectangles and 4 small strips from one fat quarter now.

You should have 4 rectangles and 4 small strips from one fat quarter now.

Now repeat those steps for the other color! Notice how this color could have been cut to an even 18 inches, but since the other one only made it to 17.5 I trimmed to match.

Now repeat those steps for the other color! Notice how this color could have been cut to an even 18 inches, but since the other one only made it to 17.5 I trimmed to match.

To the ironing board!

Next we are going to turn the thin strips into ties by using our irons and a little sewing.

Next we are going to turn the thin strips into ties by using our irons and a little sewing.

First we will iron it in half all the way down.

First we will iron it in half all the way down.

This will give us a useful crease down the middle.

This will give us a useful crease down the middle.

Next, we will fold each side to meet in the middle at the crease. You can do each side at a time or both at the same time.

Next, we will fold each side to meet in the middle at the crease. You can do each side at a time or both at the same time.

There are tools that can make that part easier, but most beginners haven’t bought or needed extra tools just yet.

There are tools that can make that part easier, but most beginners haven’t bought or needed extra tools just yet.

Now fold that in half, leaving just a tiny bit visible. This is so we know the needle is going through both sides when we see it down next.

Now fold that in half, leaving just a tiny bit visible. This is so we know the needle is going through both sides when we see it down next.

If you’re feeling fancy, fold down each end to close the raw edges, for a more professional look.

If you’re feeling fancy, fold down each end to close the raw edges, for a more professional look.

But , personally there are going to be 16 of these, and I’m not feeling it LOL (one folded and one not)

But , personally there are going to be 16 of these, and I’m not feeling it LOL (one folded and one not)

Now we see down the open side as close to edge as we can. You can see the bottom layer poking out, and that’s exactly what we want.

Now we see down the open side as close to edge as we can. You can see the bottom layer poking out, and that’s exactly what we want.

After sewing, fold it in half to find the middle, then cut, making 2 ties out of the one you just sewed.

After sewing, fold it in half to find the middle, then cut, making 2 ties out of the one you just sewed.

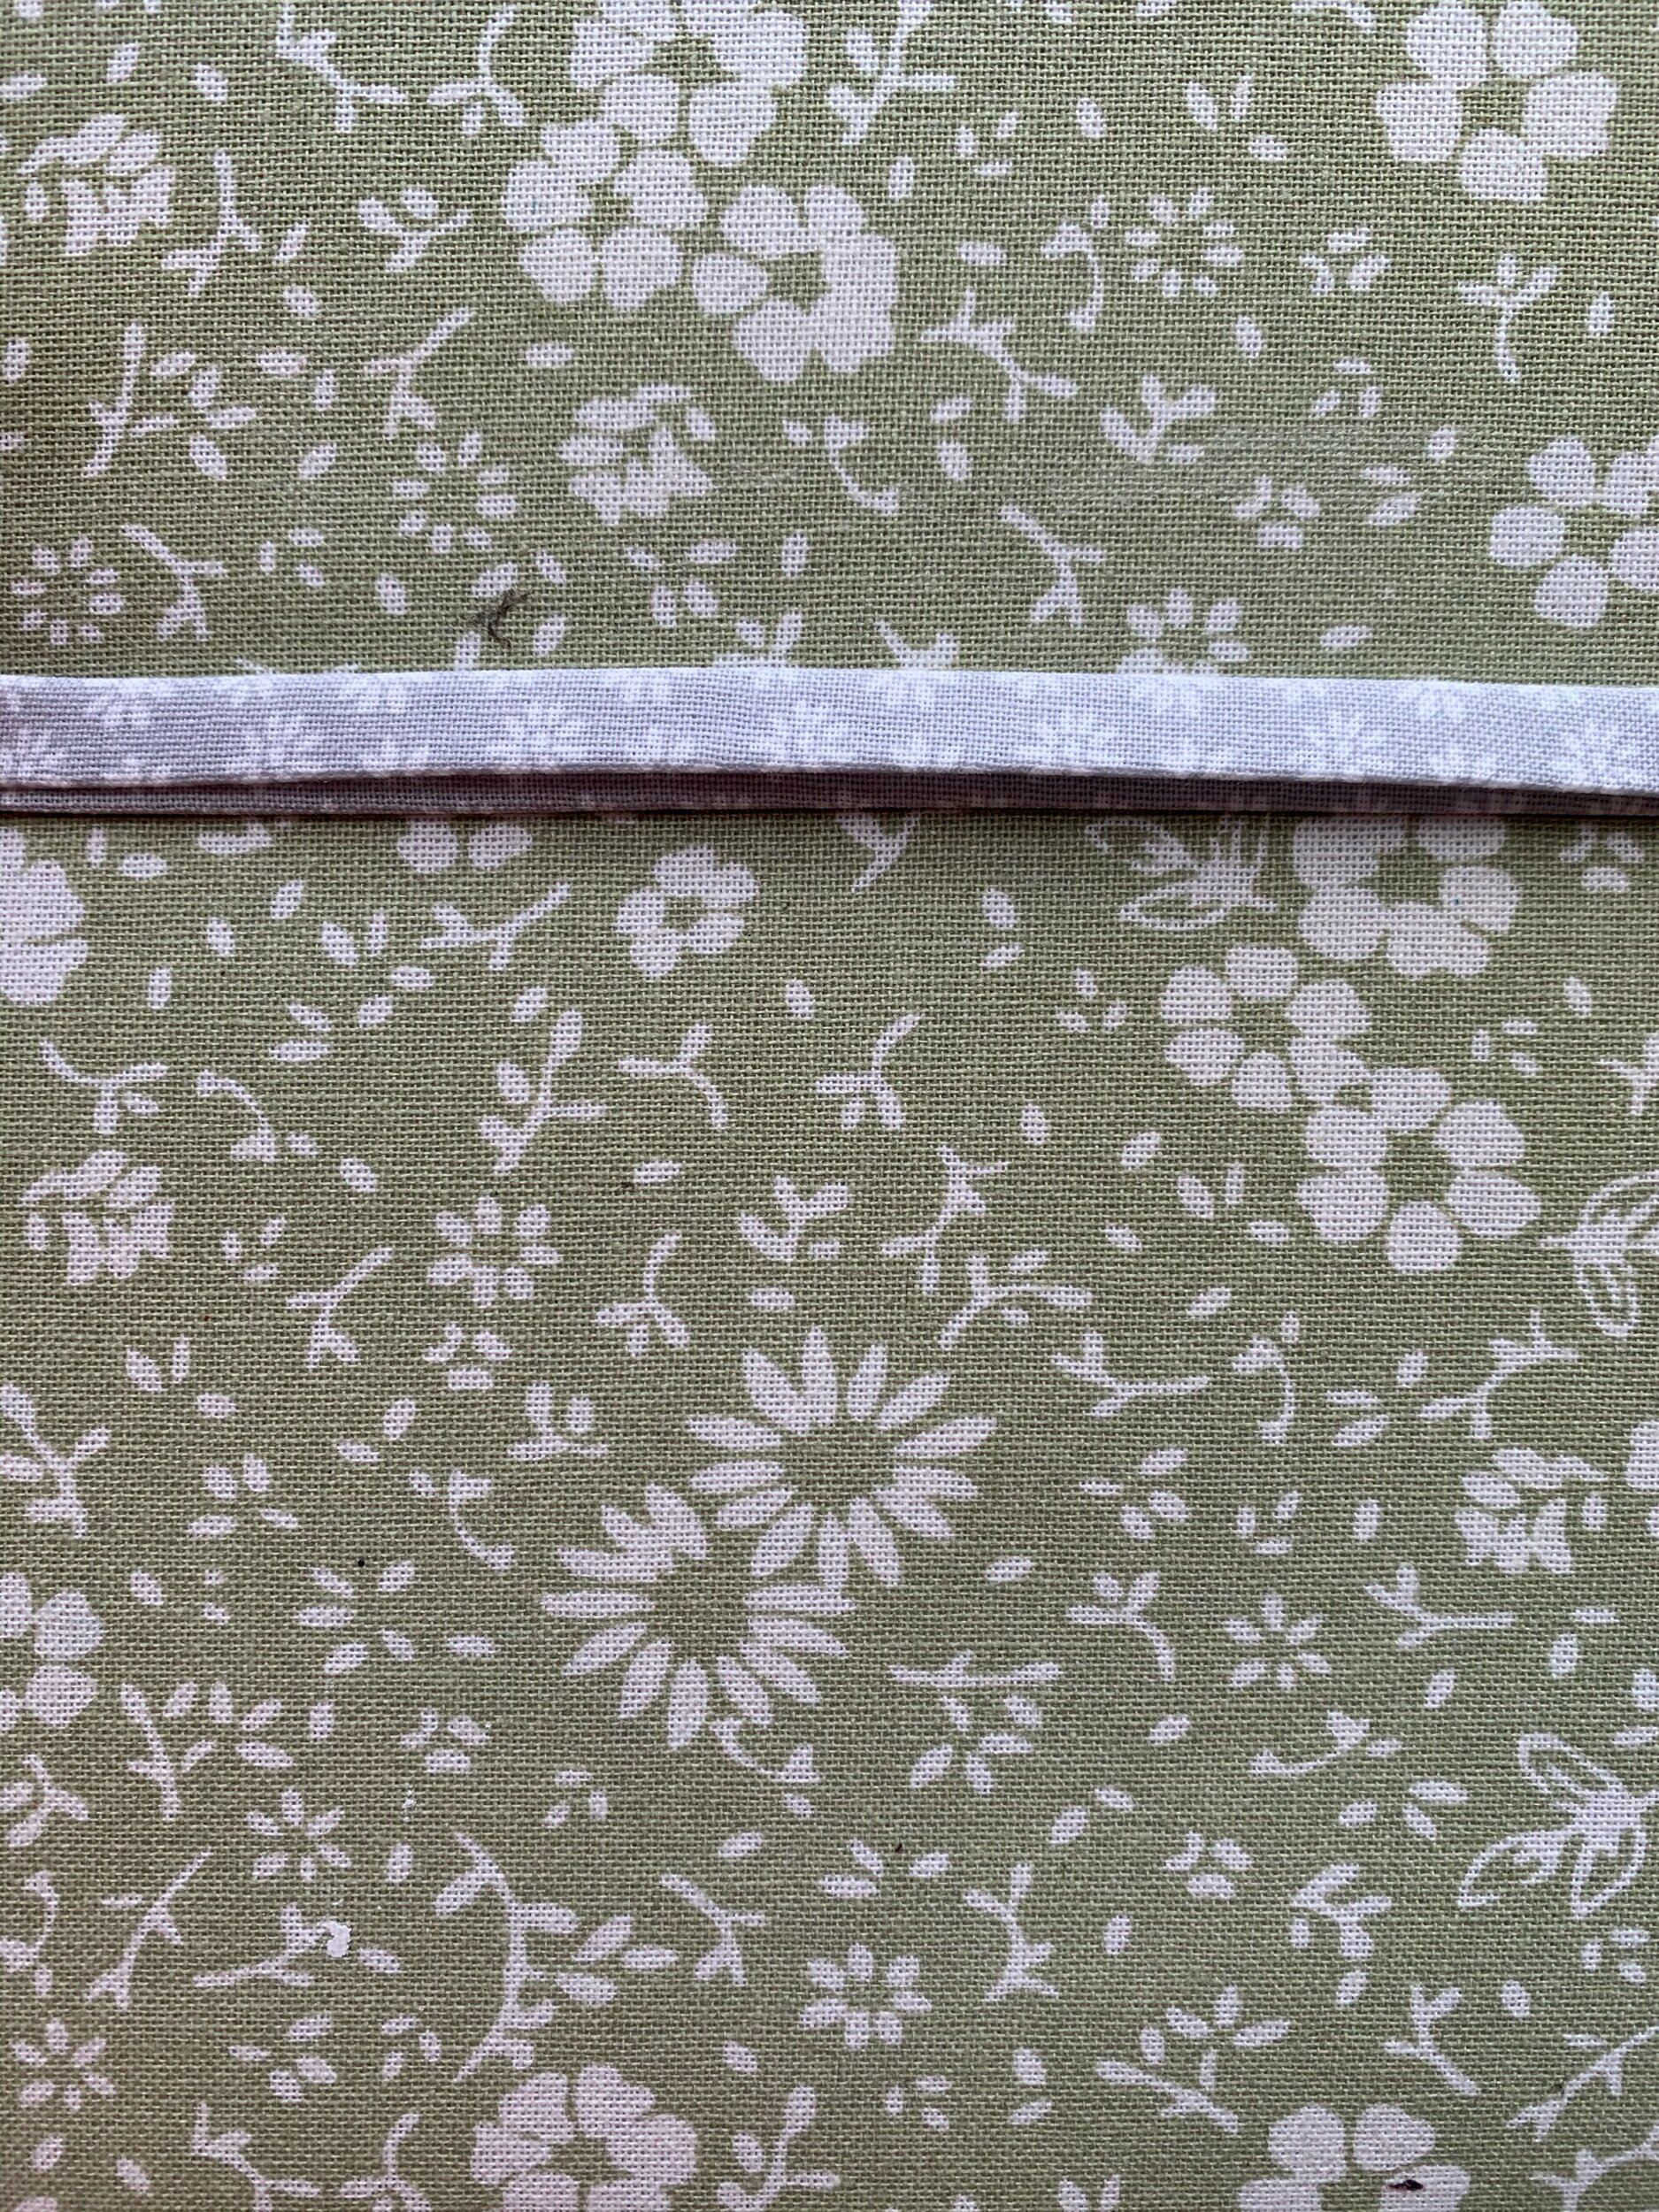
A close up of our job well done :)

A close up of our job well done :)

Now, grab a front an bottom pair and chose one side to work with. I like to be consistent and use the back side of every mask for the next step.

Now, grab a front an bottom pair and chose one side to work with. I like to be consistent and use the back side of every mask for the next step.

With the right/pretty side facing UP mark an inch from the top and bottom on scrap paper that measures 6 inches. Lay the top tie right before the mark. Lay the bottom tie right below the mark.

With the right/pretty side facing UP mark an inch from the top and bottom on scrap paper that measures 6 inches. Lay the top tie right before the mark. Lay the bottom tie right below the mark.

Using a pin, clip or even clothes pins to hold in place. I used a pin to keep the ties out of the way.

Using a pin, clip or even clothes pins to hold in place. I used a pin to keep the ties out of the way.

Next we need the Zig Zag stitch. For me, it’s number 4 on my stitches. Yours should be one of the first ones too, as it’s a very common stitch.

Next we need the Zig Zag stitch. For me, it’s number 4 on my stitches. Yours should be one of the first ones too, as it’s a very common stitch.

Previous
Previous

Stuffed Potato Waffles

Next
Next

How to use Iron Cleaner