Easy Rounded Burp Cloths
Prerequisite Knowledge:
-How to buy fabric
-How to use a rotary cutter and ruler
-How to use a sewing machine
Materials
- Flannel yardage of 2 different colors (1/4 yard or more)
- Sewing machine
- Cutting tools
- Pins and thread
- Marking pen
- Print off my FREE pattern
(Pattern is optional if you don’t want it rounded!)
First you’ll need to print off my burp cloth pattern, OR have your Cricut/ silhouette cut it out for you!
These don’t match perfectly because I’m using some flannel that was gifted to me! I’m using yardage, but you can use whatever you have!
I’m going to lay my yardage out with the fold at the bottom for a straight edge. If you’re using my pattern cut 7” strips, if not cut at whatever width you like! Between 6”-8” should be good.
Next I turned each strip on its side with the fold on the LEFT and trimmed the edge on the right and then made a cut at 17”
By cutting at 17” the fold will make a great piece for a scrappy burp cloth!
Place two pieces together right sides together.
For an effortless curved edge, line the sides of my template up with the edges and trace the top A little away from the edge of the fabric. Do this for each side. Do NOT cut!
Next, mark two lines about the width of your hand like you see on the right side.
Pin all the way around!
The blue heart pin is on the top mark we made. We are going to start sewing on the BOTTOM mark we made. You can kinda still see the mark on the right side.
Keep sewing until you get to the curve. Stop when your needle is ON the line you drew.
With the needle down, lift your presser foot up and move the fabric to where the line is in front.
Keeping the marking inbetween the sewing foot we will sew ON the markings. This will help keep you on track to sew the curve edge.
This is what it that looks like all together. .
The other end is a little trickier. You kinda have to guess when you should turn... Just keep your needle down and move it back if you need to try again.
When you have sewn all the way around to the next mark , Stop! Back stitch. You’re done sewing for a minute.
Trim away the extra fabric. Be careful not to cut any stitches!
Optional: cut little slits into the curve without snipping into the stitches. This makes for a little smoother curve, but isn’t really noticed in this specific project.
Reach your hand into the area we didn’t sew. With your hand and thumb grab the furthest side and start to push it out with your thumb.
You can now grab this and turn the rest inside out.
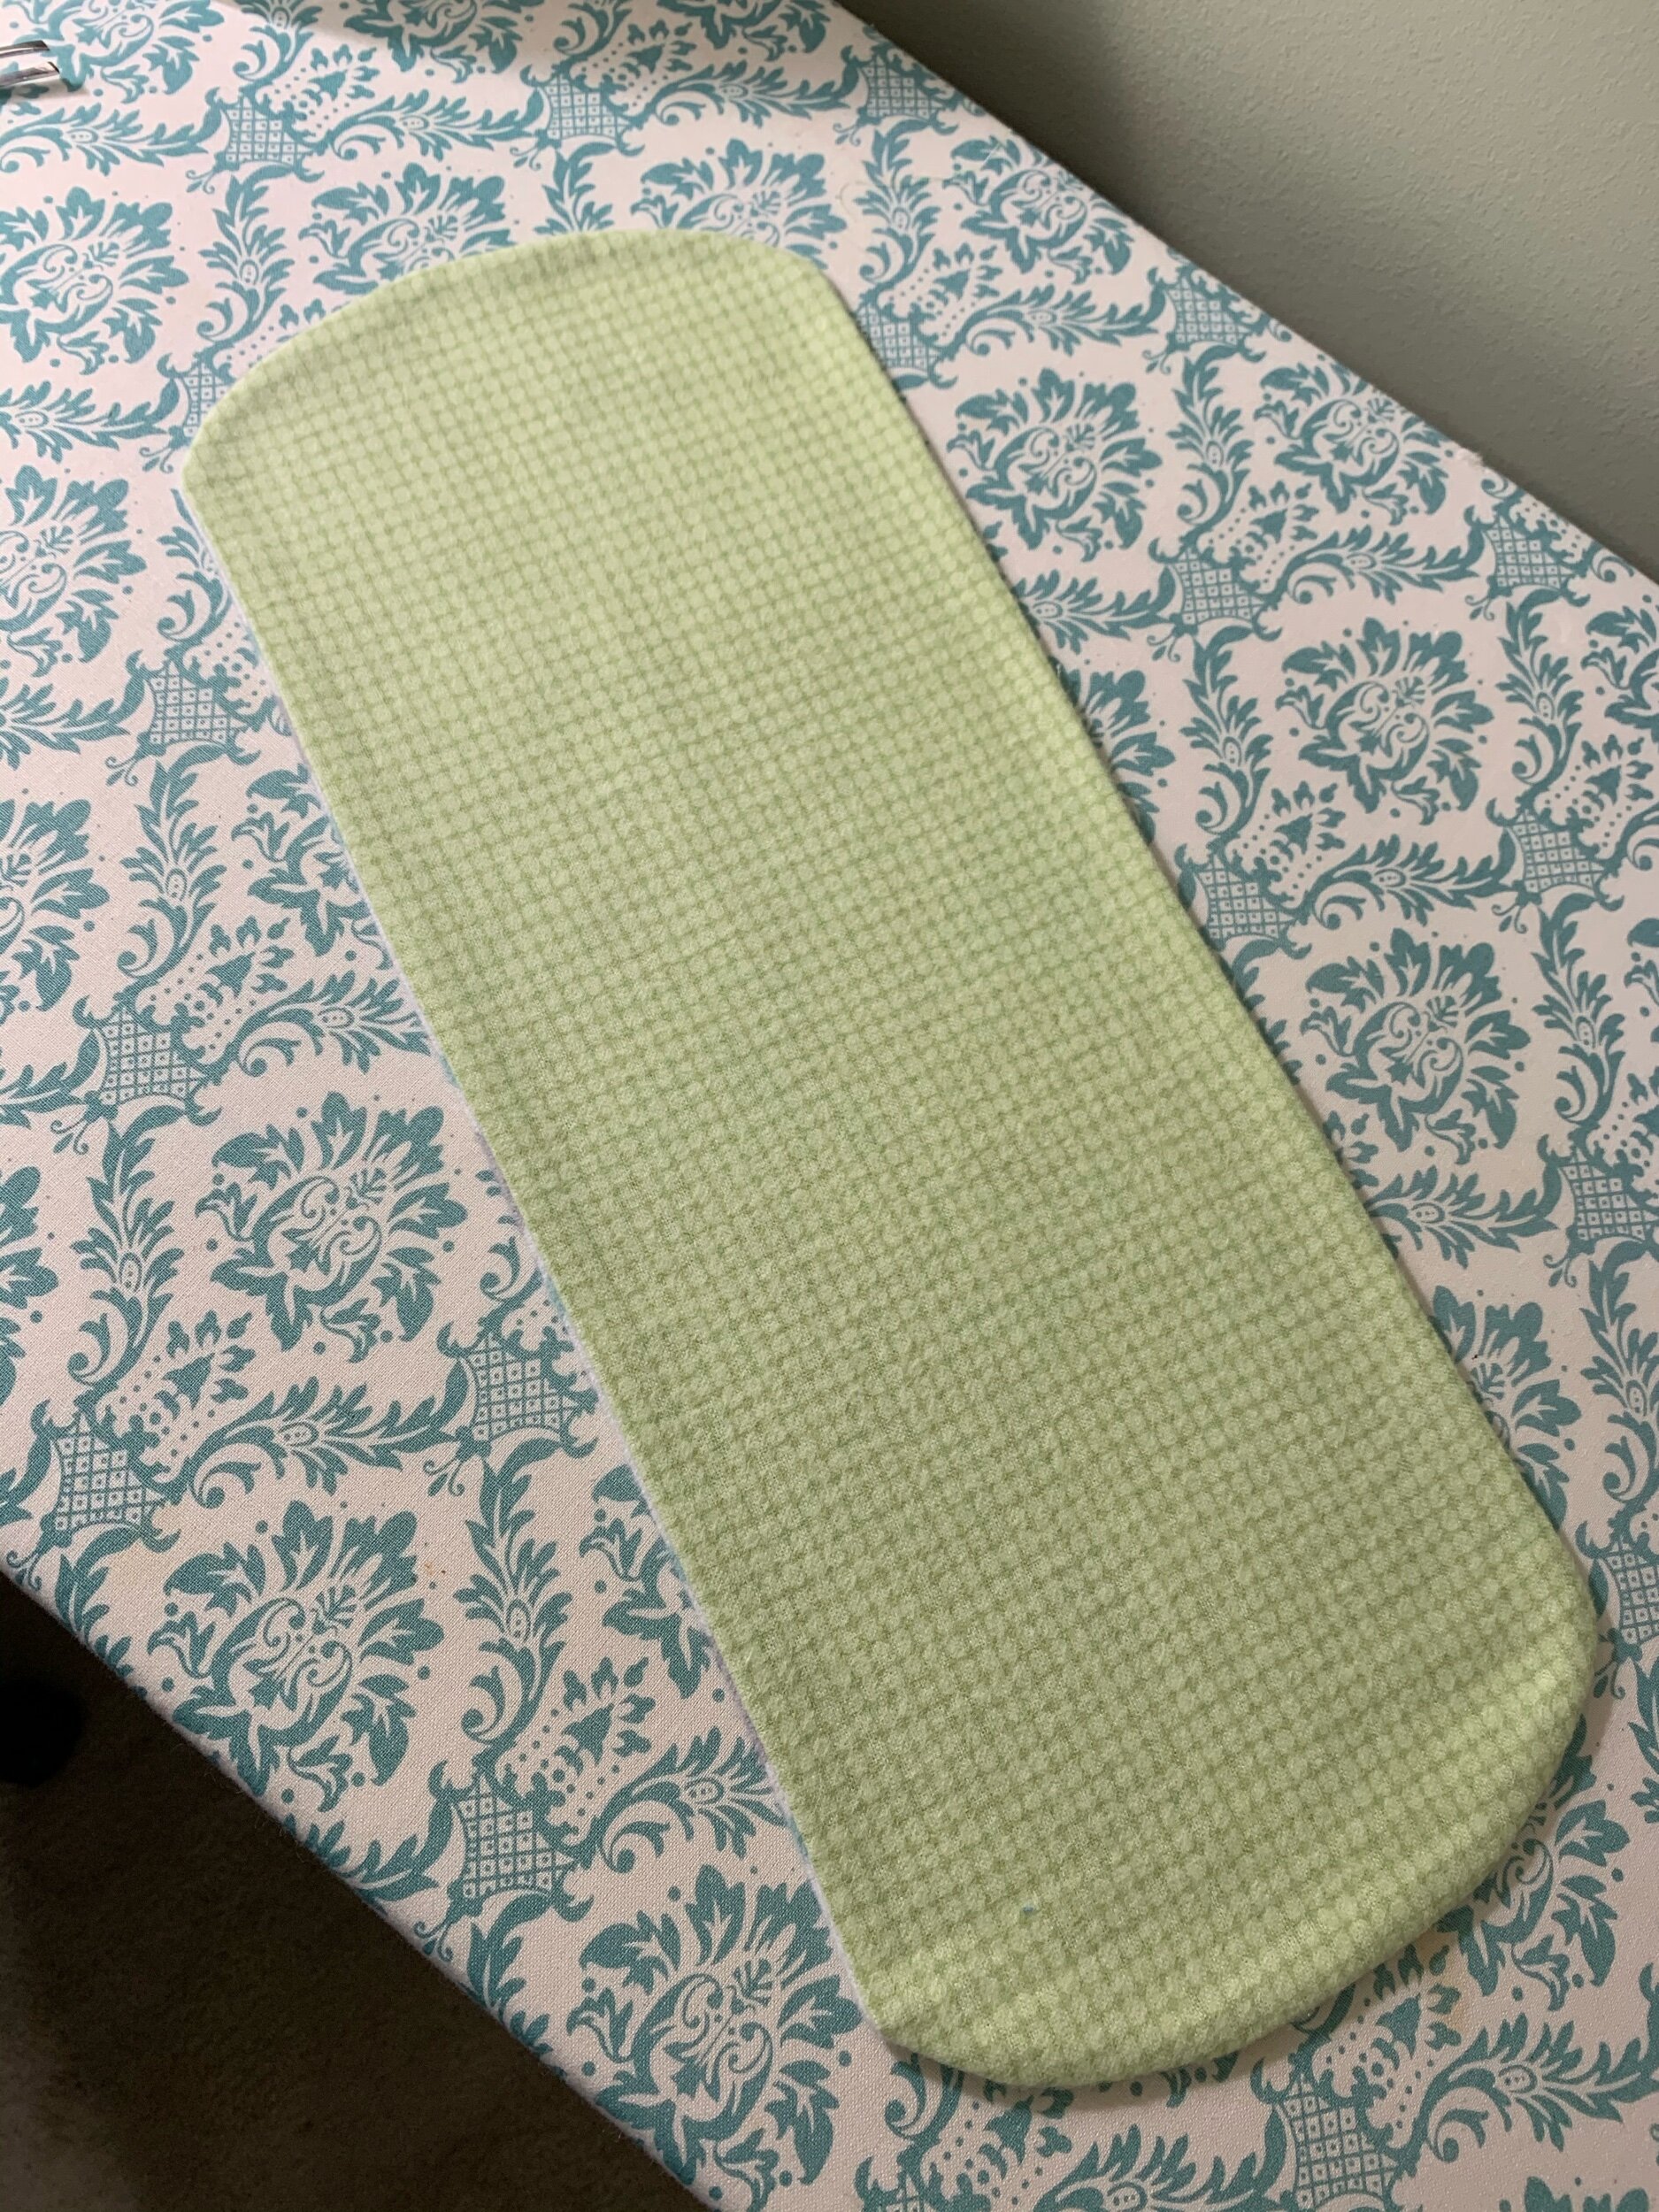
And you’re done! Haha, Just kidding. Let’s go to the ironing board now.
First use your hands to smooth it out as much as possible.
Next use a pointed blunt object like tweezers, a chopstick or maybe a mail opener to GENTLY push the edges out.
Next, fold under the flaps of the turn-out hole we made, and iron them in place once they are evenly laid flat.
Give the whole project an iron over.
Back to the sewing machine! We are going to sew all the way around the project starting at the top of our turn-out hole.
You want to sew as close to edge as you feel comfortable. This will help “hide” our turn out hole and sew it closed.
You can see at the top of this picture how consistent I am lol
Sooooo consistent. You can barely tell I’ve been sewing for 10 years lol
And you’re done!! Sometimes I sew around it a second time a little away from the other stitch line. Though, I needed to make a bunch and wasn’t feeling the extra time involved.
BONUS!
Sew together the extra pieces to make a scrappy bonus cloth!
sew 2 together and then treat them as if they were just two rectangles.
The rounded pattern will still work, even though the scrappy one is much shorter than the original 17” we cut. It’s a very flexible pattern.
I was at my “I need a break” point because I was rushing things. Those curves are embarrassing! Oh well. The rest turned out better after I took a lunch break.
Cutting 2 of those 7” strips in the beginning will get you 5 burp cloths! (2 strips of each color) so 4 strips total will get you 5 burp cloths.
Please tag me on Instagram if you make these! Use @craftygoose89 or the hashtag #craftygoose (or both!) so I can see them!
or.
Message me and see if I’m available to make you a set!
Go to the Etsy tab at the top and message The Crafty Goose to get your quote!


