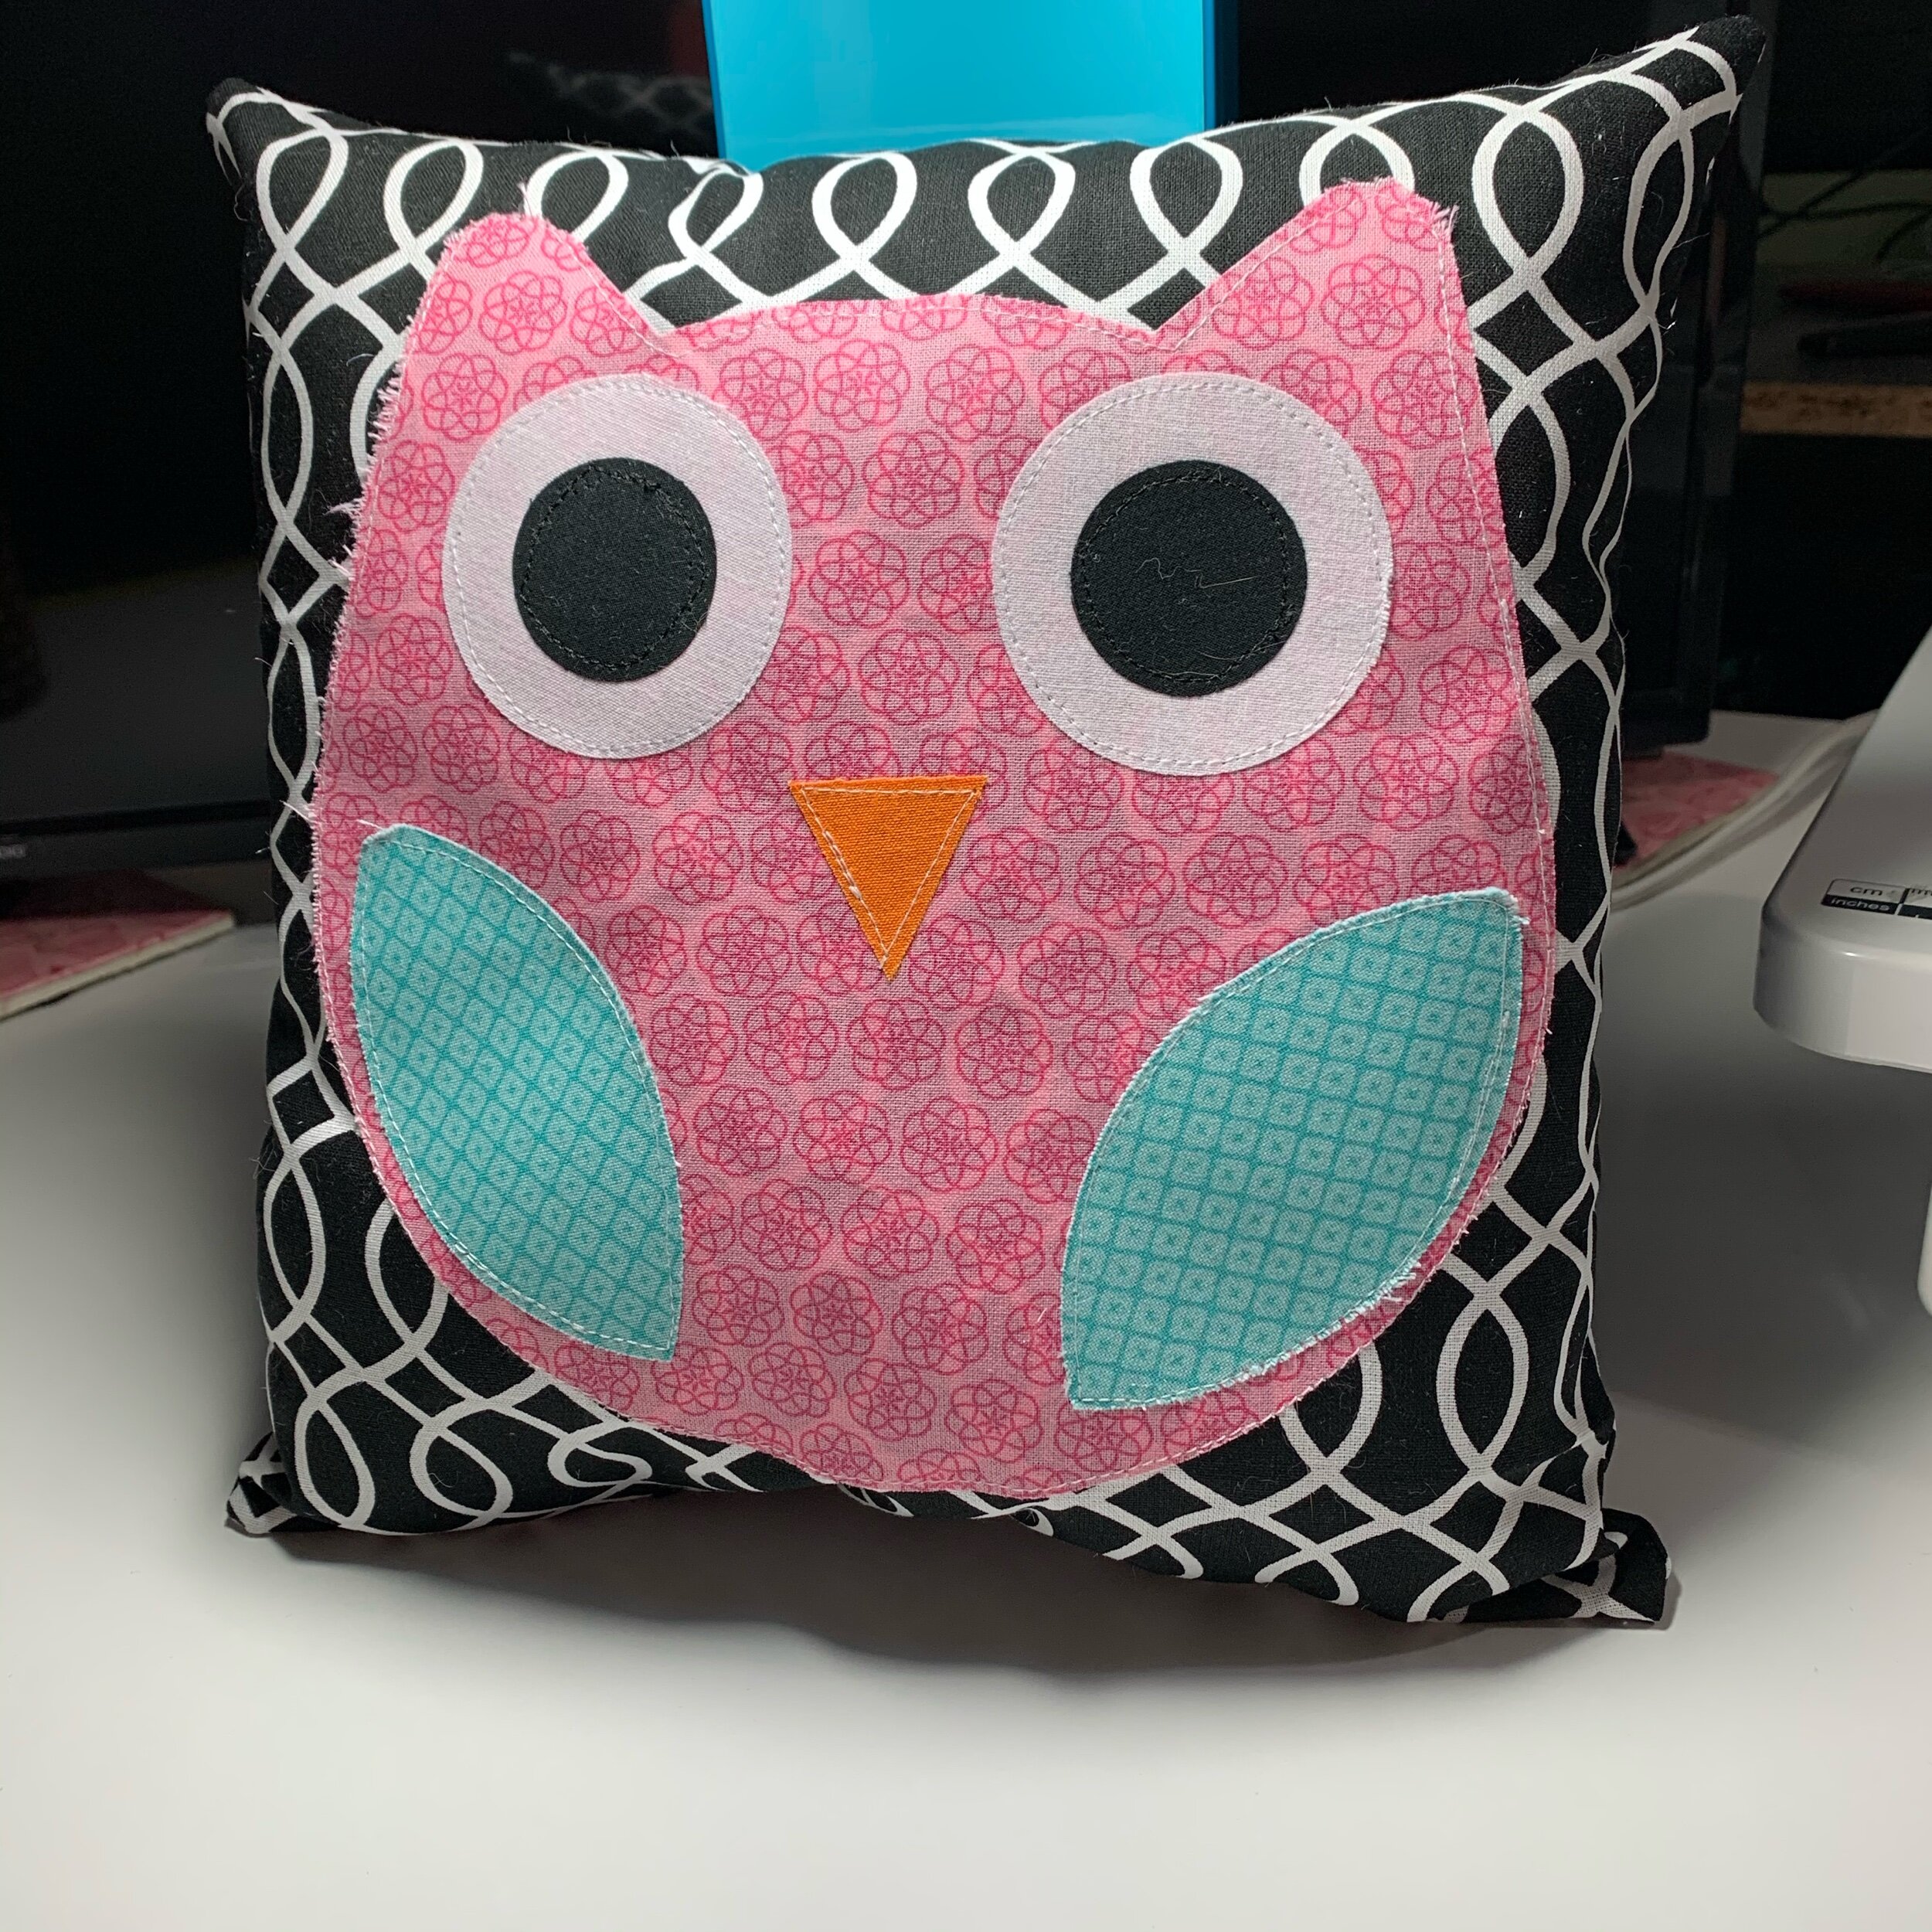
Appliqué Owl Pillow with a Cutting machine!
Prerequisite knowledge for this project:
Know how to open a SVG Cut file in Cricut Design Space or Silhouette Studio.
Know that in Cricut Design Space it may give you multiple mats for the multiple color layers, so you may have to change the colors out Each time rather than all in one go, that’s okay! It works too!
Know how to cut fabric down to size with either scissors or rotary cutter and mat.
** This pattern is now available for download at my Etsy shop! **
Supplies:
Fabric of various sizes
Basic Sewing supplies
Silhouette or Cricut
Let’s jump in!
First let’s pick out what colors we want for each part of the owl. This is a perfect time for scraps!
Next let’s iron and trim the fabric down to the sizes listed above. (PDF instructions available in Etsy shop! )
Cut Heat and Bond half and inch smaller than the size of the fabric. This will make 1/4 inch room all the whole around so that your iron doesn’t touch the adhesive.
With the adhesive side (bumpy and textured) touching the BACK of the fabric, use an iron on dry heat (NO STEAM), Cotton setting pressing down for at least 20 seconds. Set aside to cool.
After the heat and bond comes to room temperature or cooler, slowly peel the paper off of each piece of fabric, revealing a shiny glue.
For Silhouette: Open up the cut file and place each square according to each piece of the owl. Feel free to use this picture for reference if the PDF intrusions are not available yet. For this machine wherever you place it on your workspace on the computer mat is where it cuts on the real mat. Feel free to move it around if it doesn’t match up.
For Cricut: Open the cut file, go to make and place Each color fabric on the coordinating mat it asks you to. It doesn’t take long in between each cut, so the swapping process is pretty fast.
Alternative option is to Attach, and resize.
These are all placed glue down/ fabric up.
With the exception of one stubborn part… lol
It all cut out pretty clean!
Now we can iron the main body part down first. For the main pillow panel I used two 11” by 10.5” panels because I had one piece of fabric of 11x21 inches laying around and just cut it in half. Any size between 10x10 up to 12x12 will work fine!
Center it the best you can by eyeballing or fold the background into fourths and place the owl on the center crease where all the lines meet.
I still have the rest of my pieces on my mat at this time, but feel free to take them off.
Now I’m going to start assembling the other parts. You can just eyeball this part too, or!
When the download becomes available there will be a “Line Up Cut File” included. You will need any piece of paper for this. I have a lot of card stock lol
With this, you can place the pieces in the cut outs and then remove the paper. You could probably iron them this way too, as long as you’re not using steam.
All ironed down!! So cute!!!
looks like that pink fabric was a little thin LOL oops!
Now, we sew!
it may be adhered to the panel, but it’s not permanent. If you plan on keeping it on a shelf and never washing it… Sure! You can be done and skip this. But, I’m gifting this to a small child sooo… Ima sew it down.
I’m just using a normal top stitch for this. (That just means you are sewing on TOP of the fabric.) Everyone has their personal preference of appliqué stitches, and this is mine. Just a normal straight stitch as close to edge as I can get it.
The pieces are not very intricate, so the sewing work is pretty quick!
If you want to use a different color to match each piece, that awesome! And it’s going to look amazing!
If you want to use white for everything, like I did, that’s also okay!
If you want to use white for everything and then realize it doesn’t look good on the black pupils and use a seam ripper, then change your thread to black just for that part….. That is also definitely okay lol
Standard pillow making begins here.
Right sides together.
Pin all the way around.
Leave a gap in the bottom to turn it inside out.
Done forget to leave a space. Don’t sew all the way around.
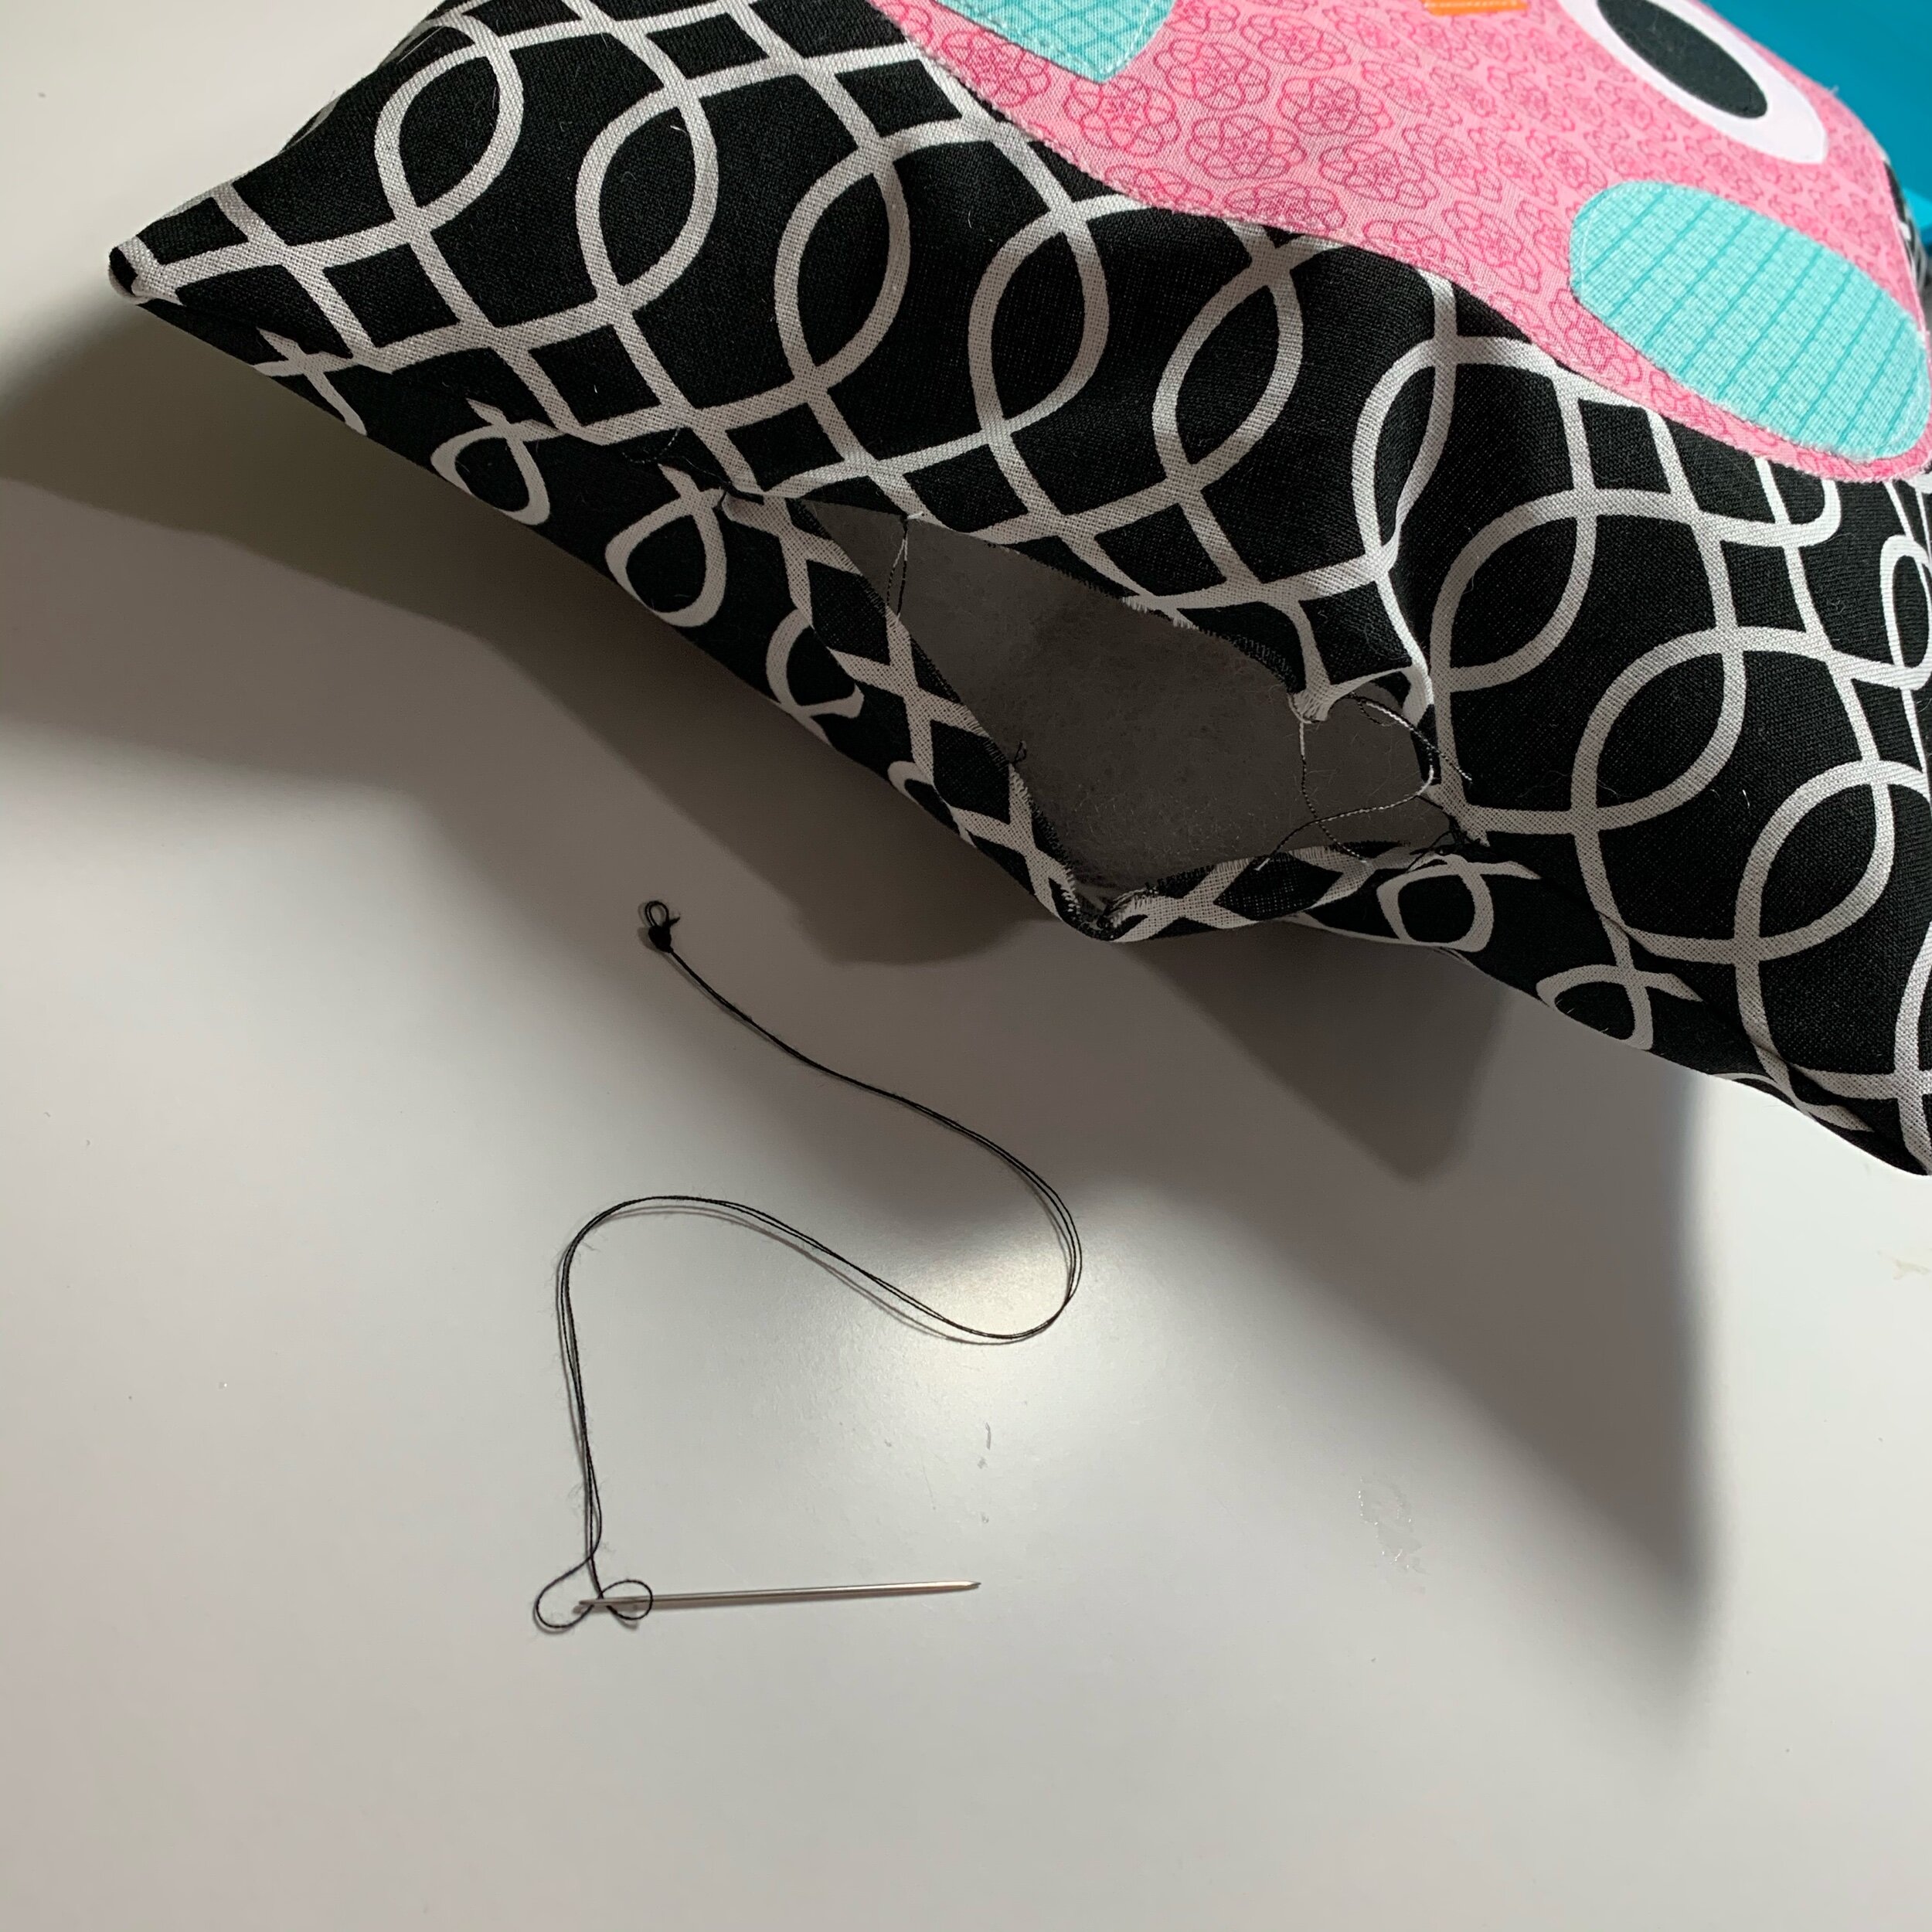
Should look something like this after you turn it inside out! Should have a hole at the bottom.
Recruit two year old to stuff pillow. He was so excited. He loves helping in the craft room.
remember to stuff with lots of small and medium pieces. Large chunks will make a chunky pillow. Unless that’s what you want on purpose.
Hand stitch the hole closed poorly.
Well, you can do a good job if you want to, but I didn’t. It’s been too long, gotta practice more pillows.
And you’re done!
This is a pretty quick project, overall!


